
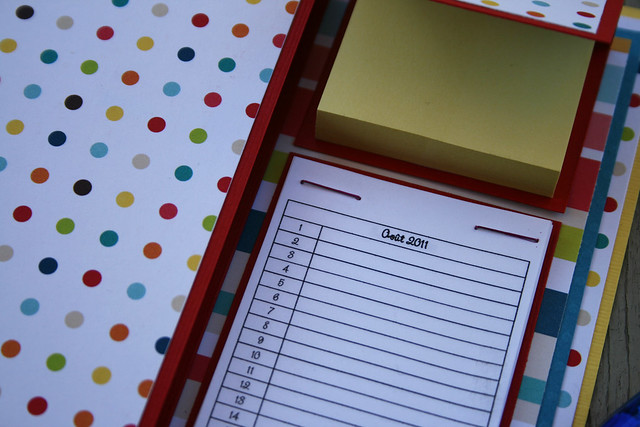
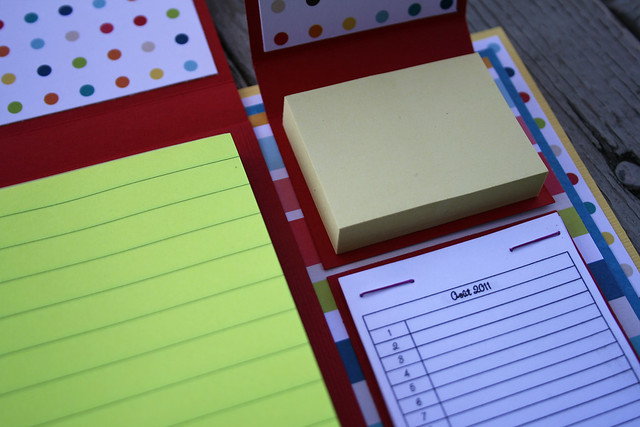
Cela dit, j'adore le résultat! Après avoir fini de coller le carnet de notes et les post-it, je trouvais qu'il y avait un gros espace vide dans le coin inférieur droit. J'ai alors eu l'idée de créer un planificateur quotidien dans Word. Je l'ai créé pour la prochaine année scolaire, d'août 2011 à juin 2012.
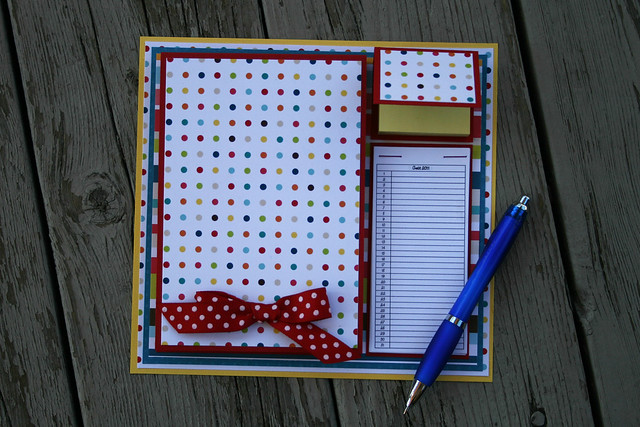
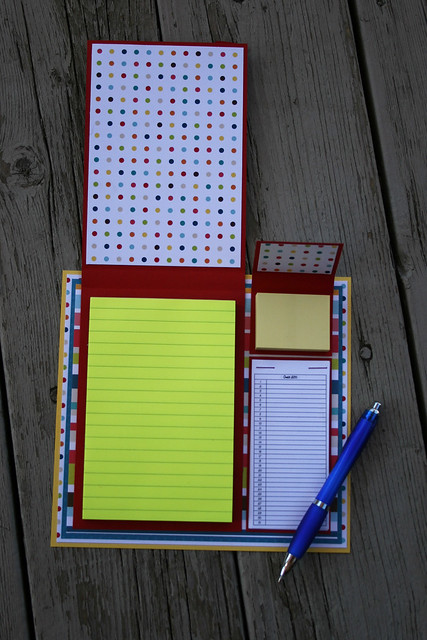
This morning, I made this little take note thing. I was inspired by this one. The instructions, though, are not very clear. It doesn't say so, but if you have a big note pad like mine (4 x 6, I think), you'll have to use two pieces of cardstock to cover it and join them under the note pad. I know I am not very clear, and I would like to give you measurements and other tips, but it's the kind of project that you have to adapt according to the size of the material you use.
That being said, I LOVE the result! When I was done with the note pad and the sticky notes, I wasn't happy with the big blank space on the right side of the thing, so I created a small daily planner in Word for the next school year (August 2011 - June 2012).
Aucun commentaire:
Enregistrer un commentaire