Celles qui me suivent depuis environ deux ans savent que J'ADORE les produits ColourArte, plus particulièrement les Silks et les Twinkling! :) Je les ai utilisés pour créer d'innombrables projets au fil des ans. Je suis la page Facebook de ColourArte, et le 18 janvier, j'ai appris qu'ils faisaient un appel DT. Wow! J'ai dansé de joie dans mon salon. J'ai décidé de poser ma candidature.
Those of you who have been following me for the last two years or so know that I LOVE the ColourArte products, especially the Silks Acrylic Glazes and Twinkling H2Os. I've used them to create many, many projects over the years. I follow the ColourArte Facebook page, and on January 18, I noticed that a DT call was posted! Wow! I was doing the happy dance in my living room. I decided to apply.
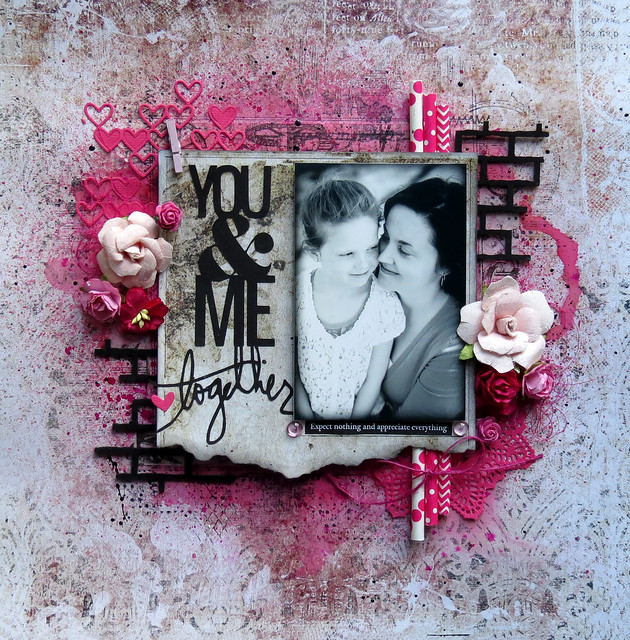
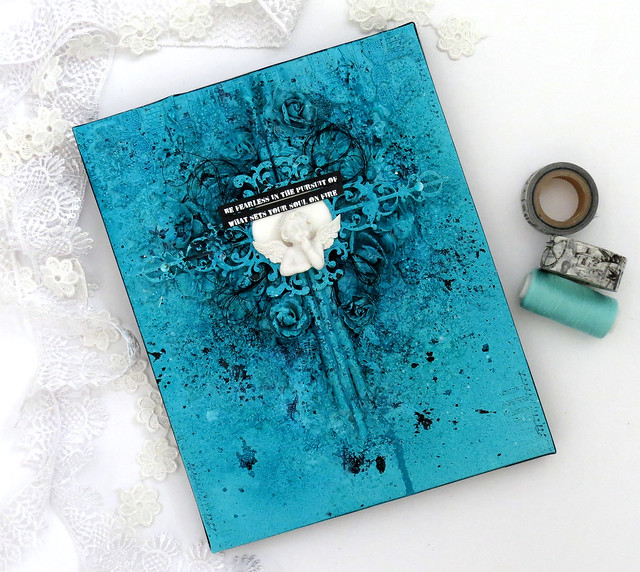
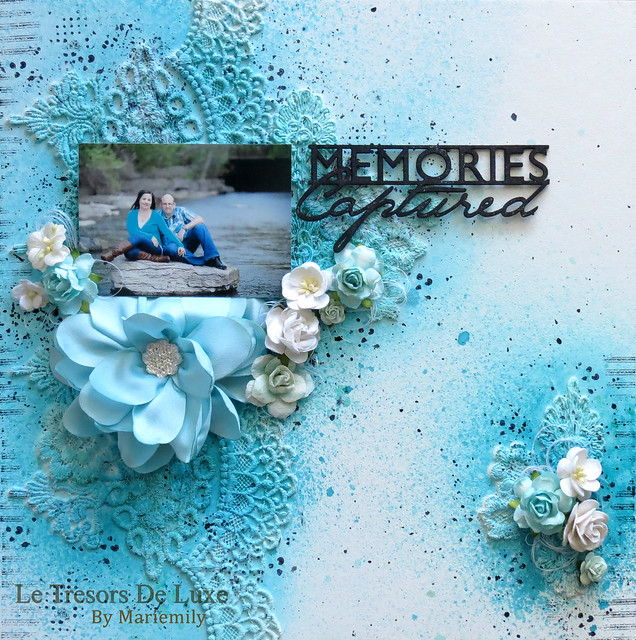
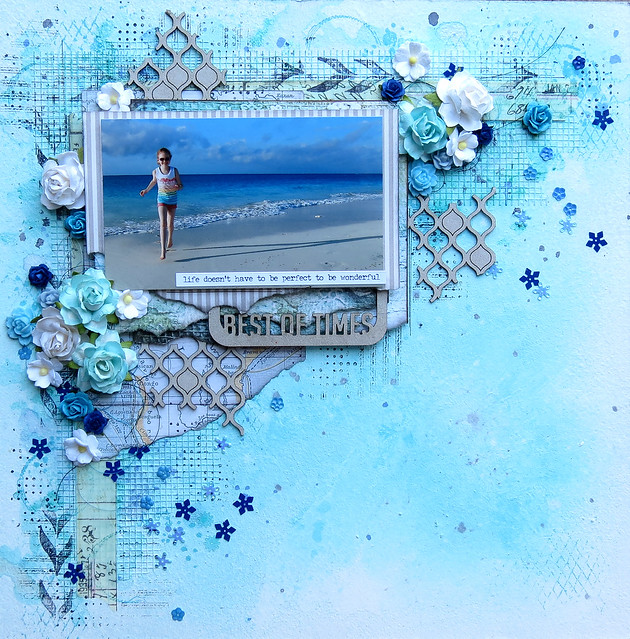
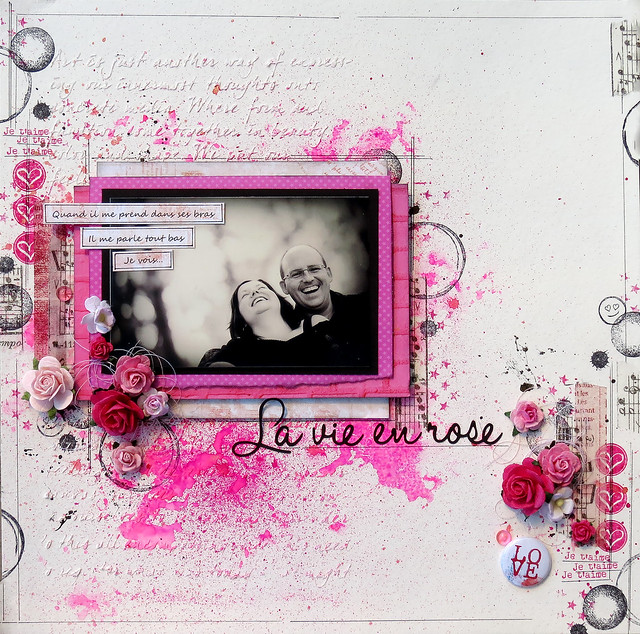
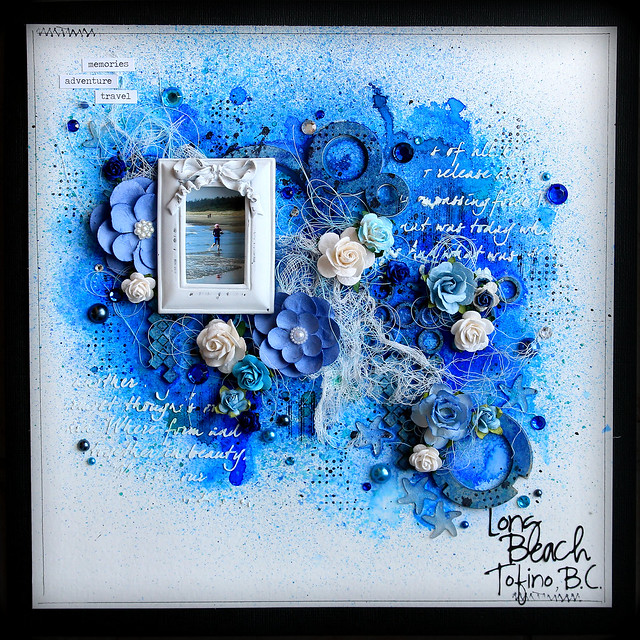
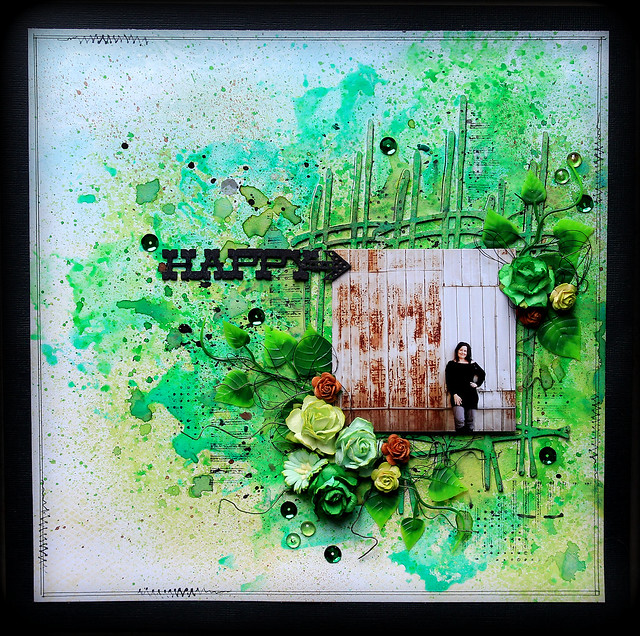
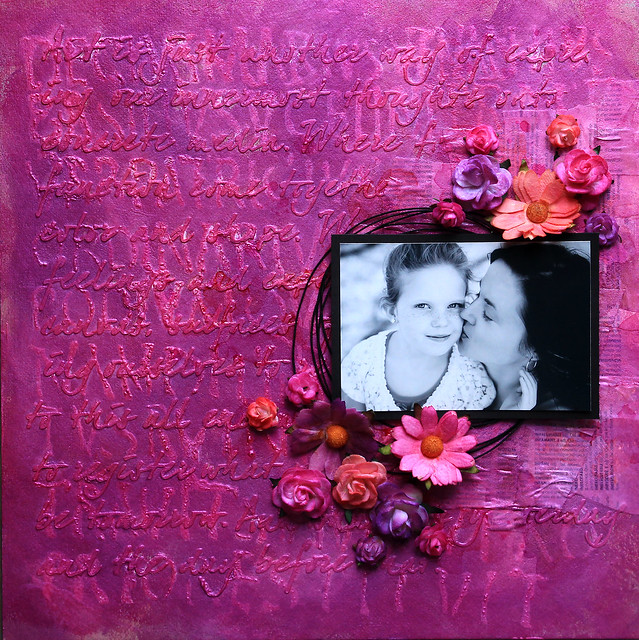
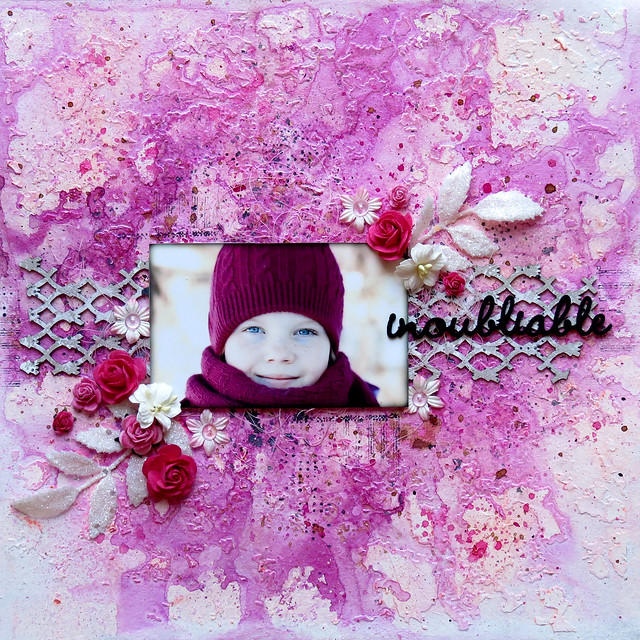
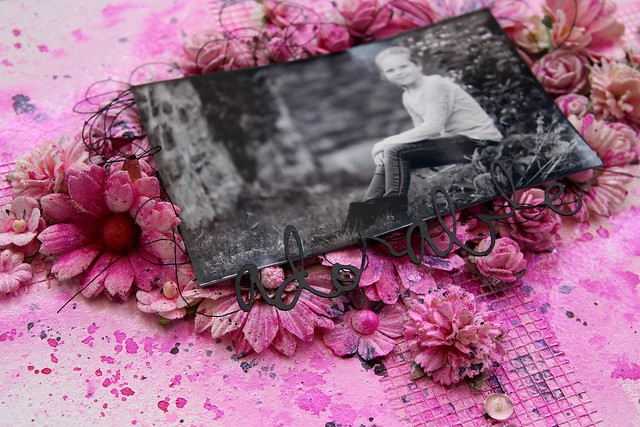
Je devais envoyer une biographie, de même qu'un projet et un pas à pas. Voici mon projet et les directives. J'espère que cela vous inspirera!
I had to send my bio, along with a project and step-by-step instructions. Here's my project and the instructions. I hope you will find it inspiring!
***Note aux lecteurs francophones : j'ai laissé les directives du pas à pas en anglais, car ça aurait été beaucoup trop long de tout traduire. Merci de votre compréhension!***
--------------------------------------------
ColourArte mixed media layout – Step-by-step
instructions
by Marie-Josée Hamel
LIST OF SUPPLIES:
·
·
12 x 12 chipboard
·
Two 12 x 12 stencils
·
Gesso
·
Modeling paste
·
Glossy Gel medium
·
Book pages
·
White paper
flowers, in various sizes and styles
·
Palette knife
·
Sponge
·
Paintbrush
·
Embossing gun
INSTRUCTIONS
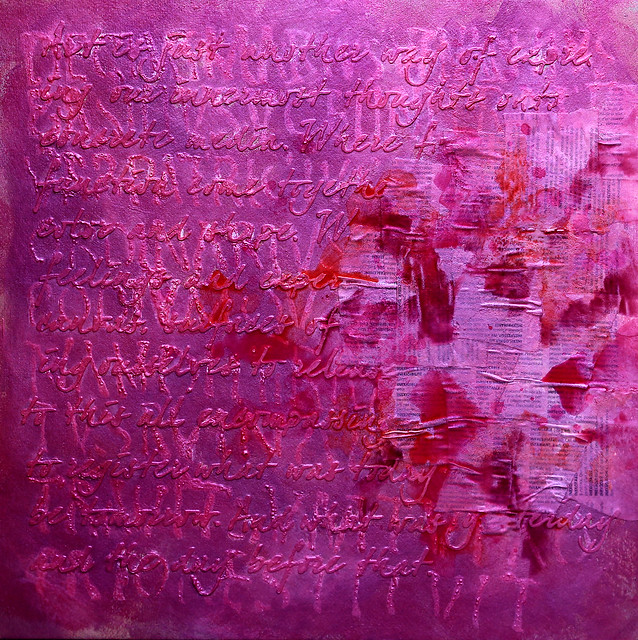
1) Using
one of the stencils and the sponge, apply gesso on your chipboard. Dry with the
embossing gun to create texture.
2) Using
the other stencil and the palette knife, apply a thick coat of modeling paste.
Let dry thoroughly.
3) With
the gel medium, glue pieces of the book pages on the right side of the
chipboard. Let dry.
4) Using
the sponge, apply gel medium all over the chipboard in a circular motion. Let
dry.
5) Using
the paintbrush, add color with the Colourart Silks Acrylic Glazed randomly all
over the chipboard. Start with the lightest color and gradually add darker
colors. First, use the Pixie
Pink color.
6) Then, add the Watermelon Mist color.
7) And
then, the Raspberry
Wine color.
8) Using
the paintbrush, dab a generous amount of the Ginger
Flower Silks Acrylic Glaze here and there on the chipboard. Apply with the
sponge by dabbing.
9) Do the
same with the Pink
Anthurium color.
10) Using the tip of the sprayer of a Radiant Rain, create drops. The color Ginger Flower was used.
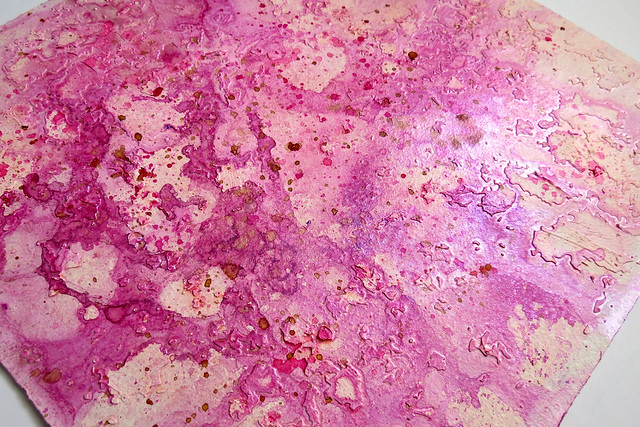
11) It
is now time to add a bit more color with Twinkling H2O watercolors. Add the
following colors, in that order : Pink Anthurium,
Jasmine,
and Cranberry.
Let dry.
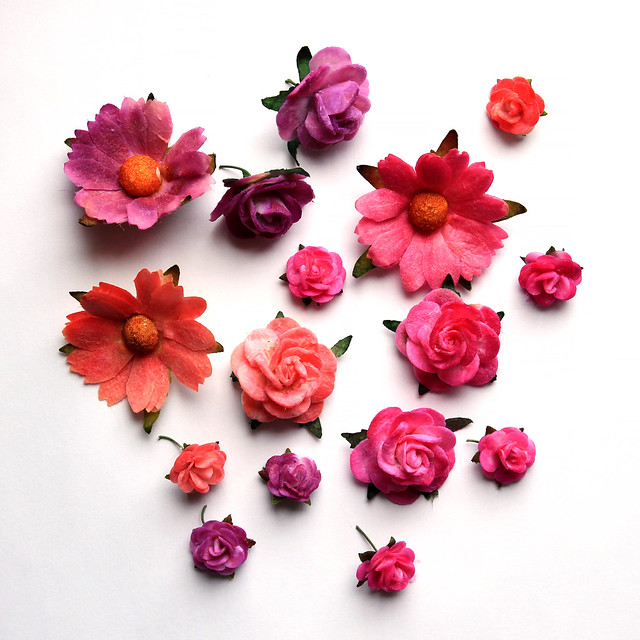
12) Your
background is now ready. Now, color the flowers using the same Twinkling H2O
watercolors used at the previous step. Tip : Wet your flowers before you
color them, it makes it easier. Let dry or dry with the embossing gun.
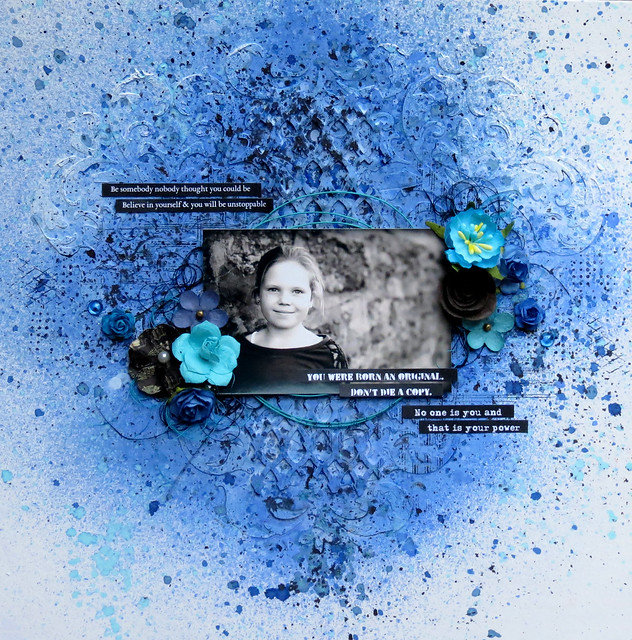
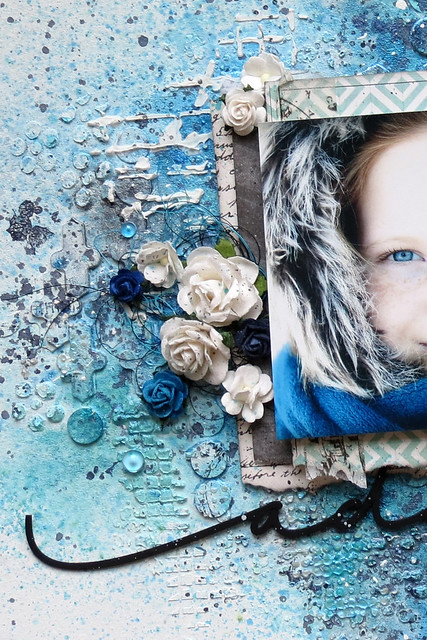
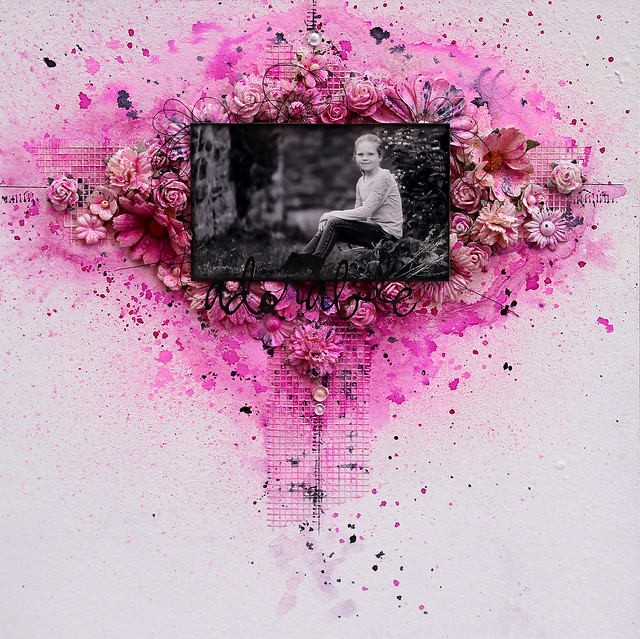
13) Glue the flowers to your background, around your photo.
14) Finalize with stamping and a title.
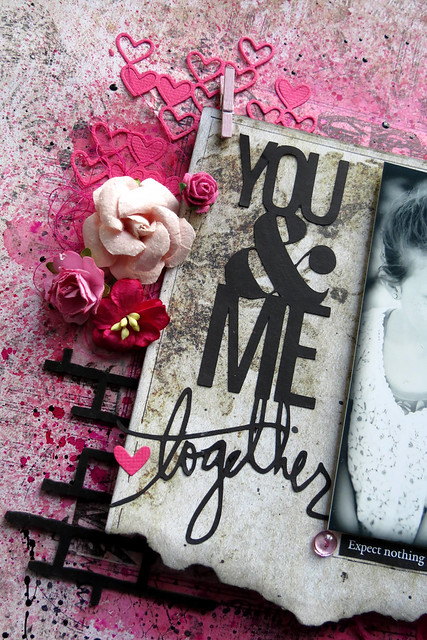
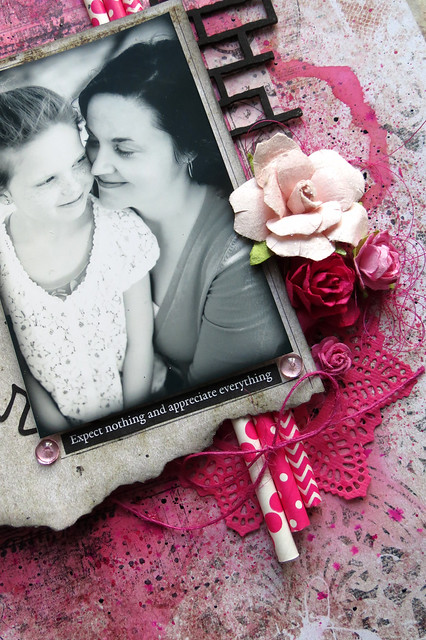
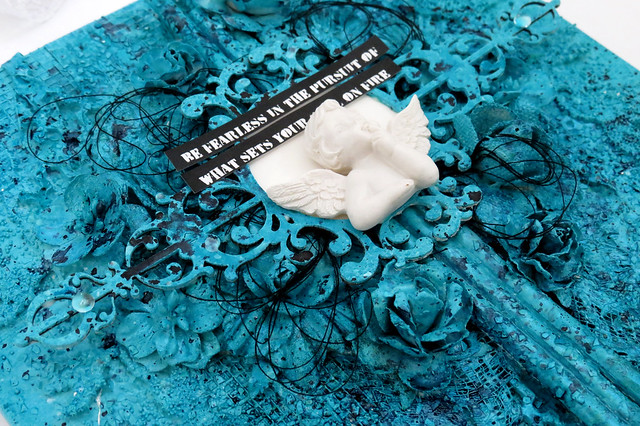
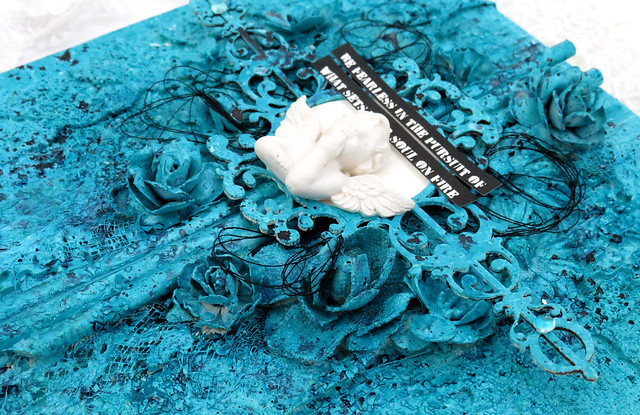
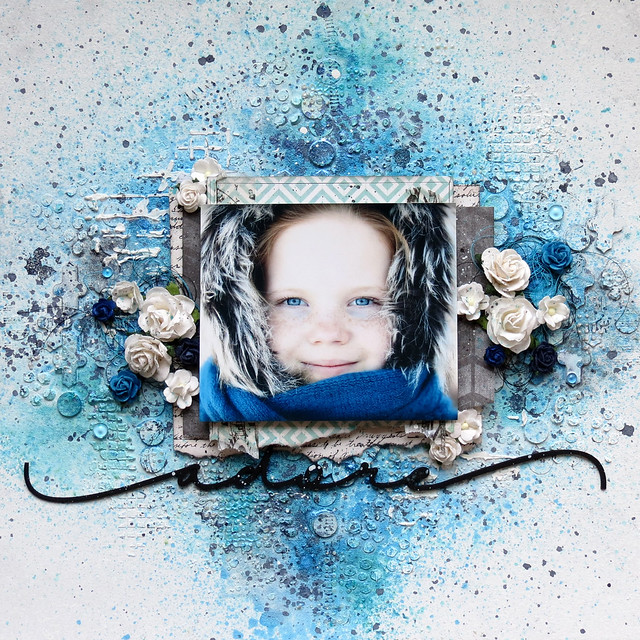
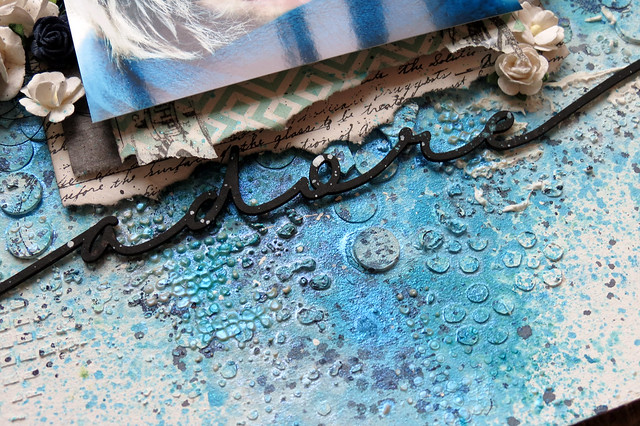
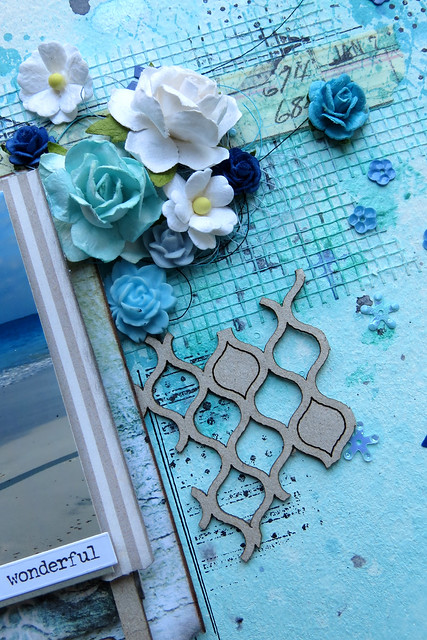
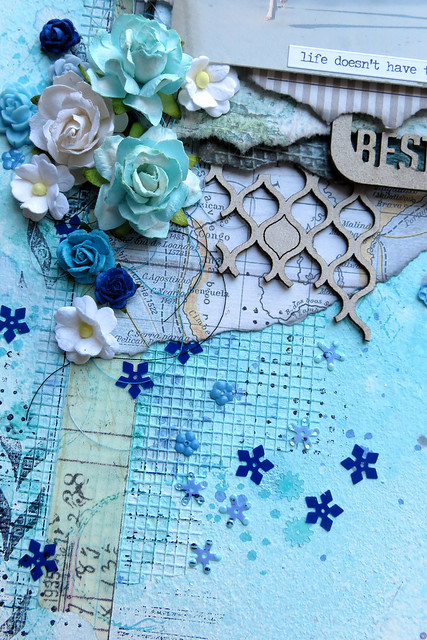
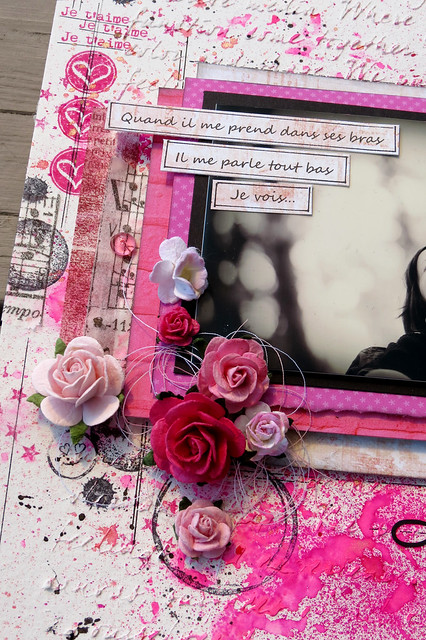
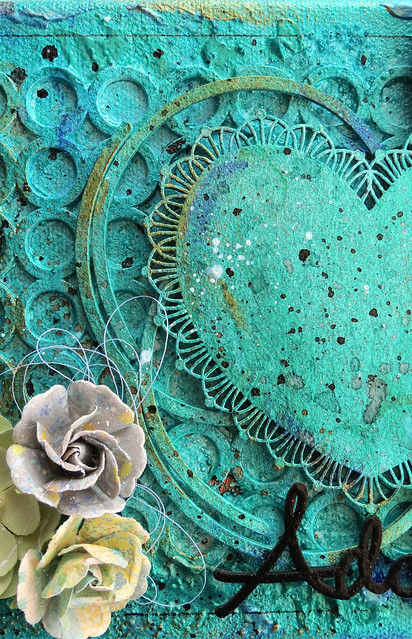
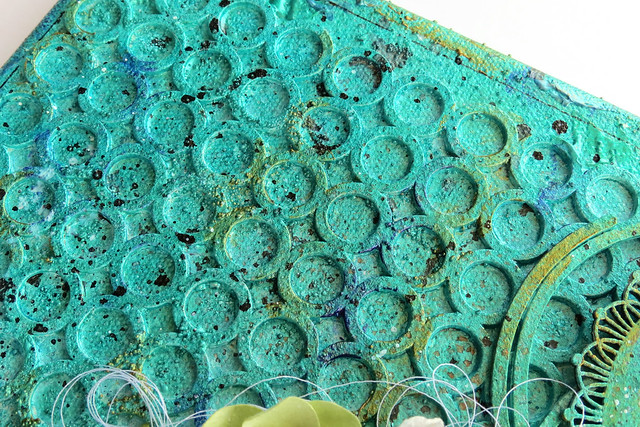
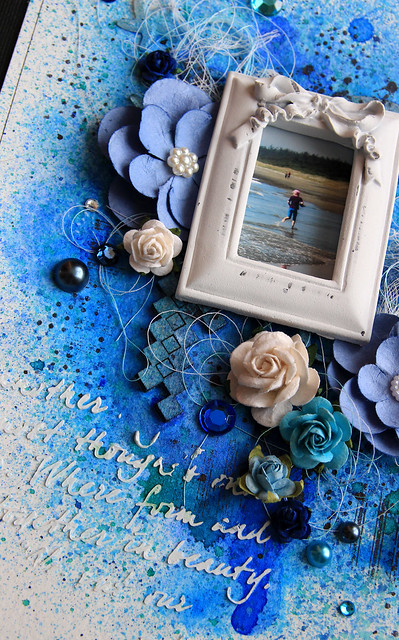
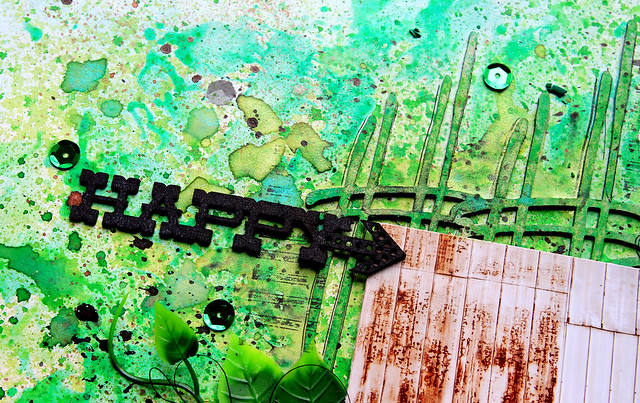
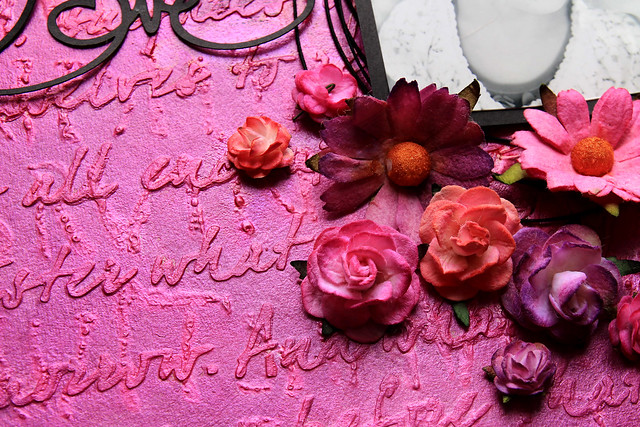
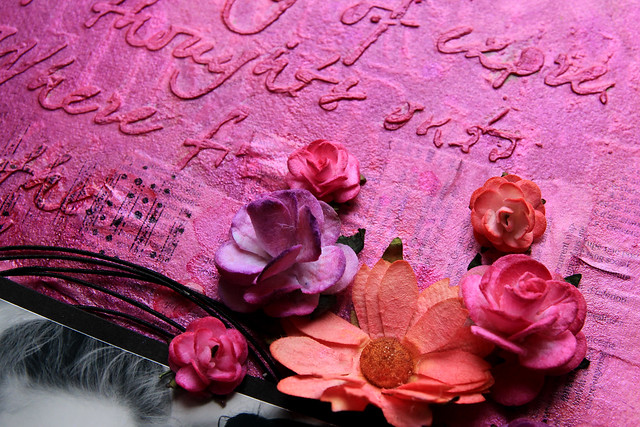
15) And here are some close-up views.